1. Log in to cascade.unm.edu with your standard UNM credentials.
2. Click on “SITE: Go to Site,” in the upper left corner ( Figure 1). Select the site you would like to edit. It will most likely be found within a larger category (ex. “School of Medicine” or “HSC Admin.”)

3. Here, you will see the folder layout of the large folder. You will see a folder titled, “_blocks” where you will create all your blocks ( Figure 2).
TIPS:

4. Within the “_blocks” folder, you will see many subfolders ( Figure 2). These organize your blocks based on the type of block you set up. Please reference the template guide that outlines what these blocks look like.
5. Once you choose which type of block you will use, click, “Add Content” on the upper left side of the page ( Figure 3).

6. This is where you can add any new content, such blocks, files (such as photos), webpages, and folders. For our example, we are going to make a “callout image.”

7. First we need to upload the image we will use. Select “File,” ( Figure 4). Select a destination within Cascade to save the document. Upload your image and rename it with proper naming conventions—no spaces or capital letters.
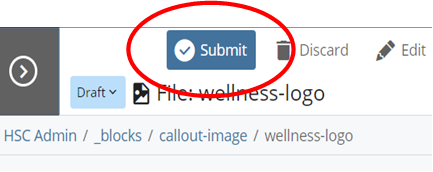
8. When you are finished, preview your draft ( Figure 5) and submit your changes ( Figure 6).


9. Go to “Add Content,” ( Figure 3), and select “Blocks.” Select the type of block you would like to create. For our example, we will create a “callout-image.”
10. Rename your block with something that will distinguish it from other callout images. Be sure to save it in the appropriate folder for the block. If creating a callout-image, place it in the “callout-image” folder within “_blocks.”
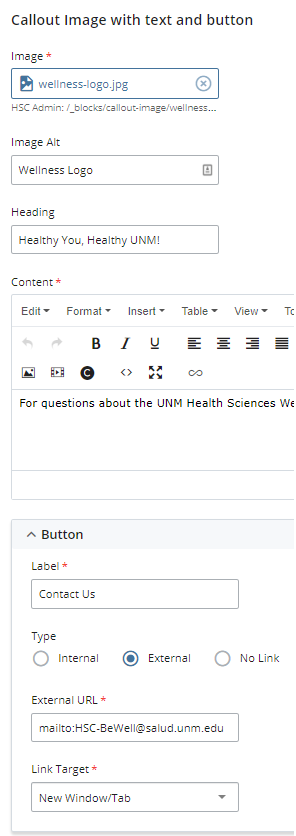
11. Choose your image based on where we saved it earlier, in step 7. Add a heading and your content ( Figure 7).

12. For the button, you can add an internal or external link, as well as an email contact ( Figure 7).
13. When done, preview the draft and submit.

14. Go to the webpage you would like to edit. It should be available in the site content menu. Once you open the page click on the edit button on the upper right side.
15. Add a content row by selecting the green plus sign.
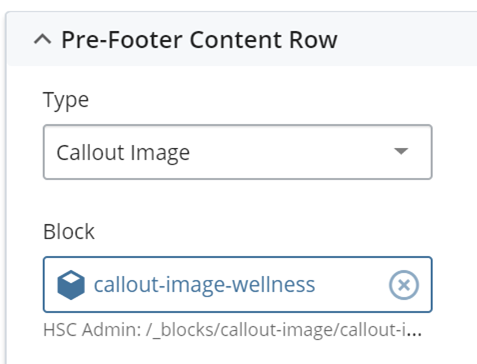
16. Select the correct type of block you are adding. For this example, we will add our callout image. Select the specific block that we had created. ( Figure 8)
17. Preview your draft and submit. You will now see your webpage with that updated block ( Figure 9)!
